What You'll Build
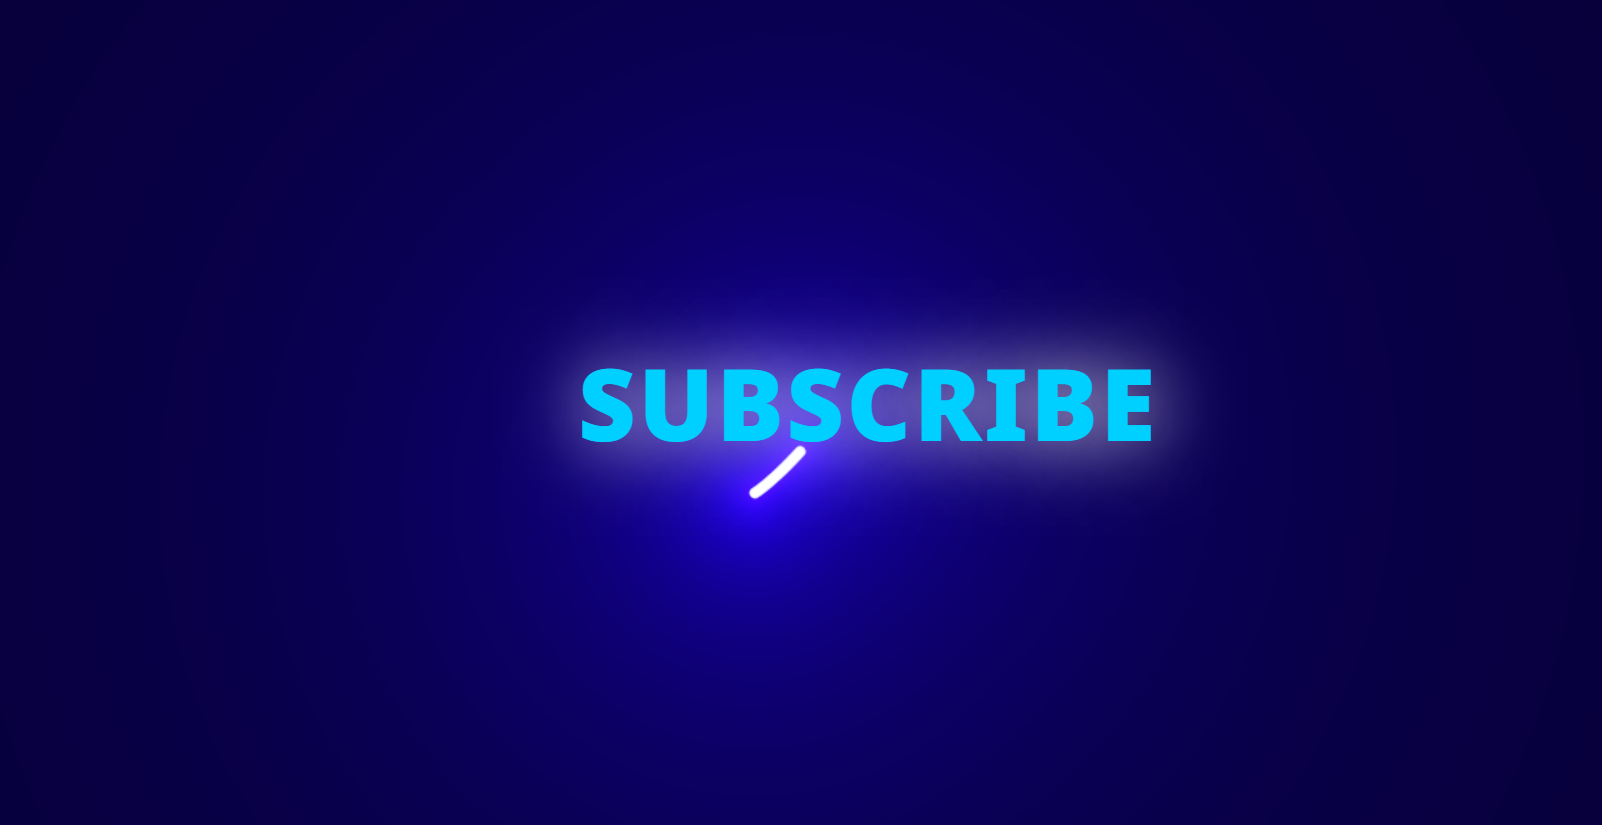
This tutorial walks you through creating a Neon Cursor Animation using HTML, CSS, and JavaScript powered by the Three.js Toys library. The result is a reactive glowing light trail that follows the user's mouse across the page — rendered in real time via WebGL for maximum smoothness and visual impact.
Each mouse movement generates a flowing neon stream that mimics illuminated light tubes. The design is perfectly suited for futuristic portfolios, tech demos, and any website inspired by synthwave or cyberpunk aesthetics.
neonCursor() function from the
threejs-toys CDN creates a fixed WebGL canvas behind your content.
It listens to mousemove events and renders a flowing shader-based particle trail.
Combine it with glowing text and a dark background for a high-tech look — no build tools needed.
Key Features of This Neon Cursor Effect
shaderPoints, radius1, radius2,
colors, and motion smoothness via simple config parameters.threejs-toys library loads from a CDN — no npm, no bundler, no
build step. Add one script tag and it works.position: fixed so the glow effect spans every pixel of the screen.How It Works — Step by Step
Here's a breakdown of the three layers that power the neon cursor animation.
Structure the HTML
Start with a minimal page structure. A #app container holds the WebGL canvas
generated by the Three.js Toys script. Text, headings, or logo elements sit above it using
position: relative and a higher z-index. The canvas itself
is injected automatically by the library into the DOM, so your HTML stays clean and simple.
Use pointer-events: none on elements you want to pass mouse events straight
through to the cursor tracker below.
Style with CSS
Set a dark background to maximize neon glow contrast — #000 or a deep navy works best.
Apply position: fixed; inset: 0 to the canvas wrapper so the effect covers
the full viewport without affecting page scroll. Add glowing text-shadow
properties using cyan or magenta accent colors to match the cursor trail. Use
pointer-events: none on the canvas container so clicks pass through
to your actual page content below.
Configure the Neon Cursor Script
The core of the effect is a single neonCursor() call from the
threejs-toys library. Pass a configuration object to control the visual
behavior: shaderPoints sets the number of glow segments along the trail;
curvePoints and curveLerp control path smoothness;
radius1 and radius2 define inner glow thickness and outer spread;
sleepTimeCoefX and sleepTimeCoefY adjust how the trail
softens and fades when the cursor slows down. Set colors to any hex values
to match your site's color palette.
Polish and Combine
The finished page pairs the neon trail with glowing text shadows, a centered layout, and a fully dark background. The result is a cyberpunk-style interactive interface where every mouse movement leaves a luminous streak of light. Performance stays high because WebGL handles all rendering — the DOM is never touched during animation, keeping everything smooth even on lower-powered hardware.
shaderPoints between 10–20 for
the best balance of visual quality and frame rate. Very high values increase GPU load and
may cause frame drops on older integrated graphics. Always test on a mid-range device
before deploying to production.
Understanding the neonCursor() Configuration
The neonCursor() function accepts a single configuration object. The most
impactful parameters are shaderPoints (number of glowing nodes along the trail),
radius1 (inner glow size, controls the bright core), and radius2
(outer glow spread, controls the soft halo). curveLerp is a value between 0 and 1
that controls how tightly the trail follows the cursor — lower values create a lazy, flowing
motion while higher values make the trail snap directly to cursor position.
Best Practices for Neon Cursor Pages
A neon cursor effect works best as an accent, not the main content. Keep surrounding UI elements
minimal so the glow isn't competing with other visuals. Match the cursor trail color to your
primary accent color using the colors config array. Ensure all text has sufficient
contrast against the dark background — neon shadows on headings can add to the aesthetic
without harming readability when kept subtle. For accessibility, provide a way to reduce motion
using the prefers-reduced-motion media query to disable or simplify the effect.
Get the Source Code
The full source code is available for free on GitHub Gist. Explore the code below, copy it directly, or click Preview Result to see the live demo — then wait for the countdown to grab the full Gist link.
/* Loading source code... */// Loading source code...index.html, style.css,
and script.js, place them in the same folder, and open index.html
in your browser. The Three.js Toys library loads from a CDN automatically —
no server or install step required.
Frequently Asked Questions
How does the neon cursor animation work?
neonCursor() function from Three.js Toys creates a WebGL canvas fixed
behind your page content. It tracks mousemove events and renders a flowing
trail of shader-based particles along the cursor path. All rendering happens on the GPU
via WebGL — the DOM is never touched during animation, keeping performance high.
Does the neon cursor effect work on mobile?
mousemove events, which are desktop-only.
On mobile, you can adapt it by replacing or supplementing the event listener with
touchmove. WebGL support on modern smartphones is generally good, though
performance varies on older devices — test before deploying on mobile-first projects.
Does this require any JavaScript frameworks or build tools?
threejs-toys library, loaded via a single
CDN script tag. Everything else is plain HTML and CSS. No npm, no Webpack, no React —
just open the HTML file in any modern browser and the effect runs immediately.
Can I change the neon glow color?
colors array of hex values inside the neonCursor()
configuration object. For example, colors: [0xff00cc, 0x00ffff] switches
the trail from cyan to a magenta-cyan gradient. You can use any colors that complement
your site's theme — just keep them bright against the dark background for maximum impact.
How do I prevent the cursor trail from blocking page interactions?
pointer-events: none on the WebGL canvas container using CSS. This passes
all click and hover events through to your actual page content beneath the canvas.
The Three.js Toys library typically handles this automatically, but it's good practice
to confirm via DevTools that the canvas element has this style applied.
Conclusion
The Neon Cursor Animation is an elegant touch that blends motion and light into your web design. By using Three.js Toys, you can build this WebGL-powered effect with minimal code and maximum visual impact — a single configuration call generates a smooth, physics-based glow trail that reacts to every mouse movement.
Whether you're building a creative portfolio, a futuristic landing page, or an interactive art project, this glowing cursor gives your interface a pulse of energy that users notice and remember. Customize the colors, adjust the trail physics, and combine it with dark backgrounds and neon typography for a complete cyberpunk aesthetic.
Found this useful? Explore more HTML, CSS & JavaScript projects in the sidebar →